
From the Asset Pipeline to Webpack
7th June 2018On May 2011 DHH announced at Railsconf a new framework for Rails, The Asset Pipeline. Also, was announced that SCSS and CoffeeScript along with jQuery were to become a default but overall, the recognition that Web Development changed and that it was the time to assign a proper place to this kind of code and to become a first-class citizen in every Rails application.
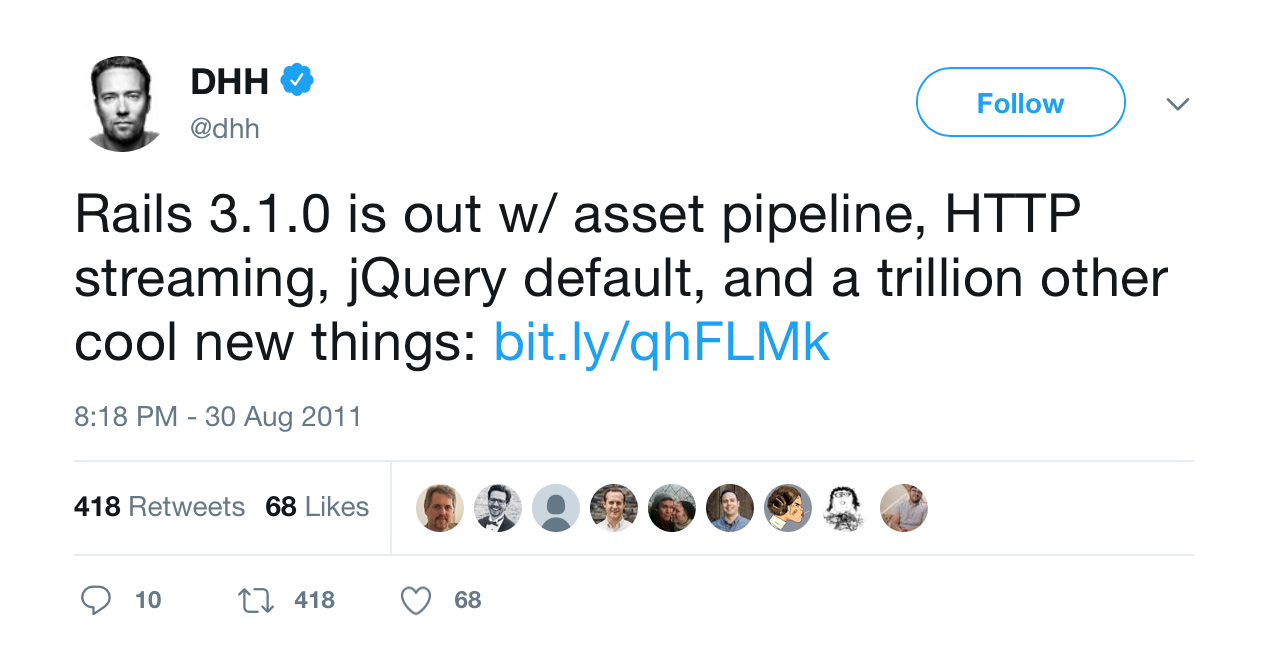
It was a step forward but people complained about the inclusion of SCSS and CoffeeScript as default. The plan moved forward and on August 31st, 2011 version 3.1 was released.
In the Rails world, the frontend development was mostly HTML/CSS and plugins of jQuery, a lot of them, and more complex UI were done with Backbone.js
Managing, invalidating, and serving assets was a difficult task and the Asset Pipeline came with the promise to make it easy.
Frontend development continued moving forward eventually, Backbone.js died and for many applications, jQuery was not enough anymore.
Node.js and NPM influenced how frontend was done. Single page applications became a thing, this had a direct effect in the Rails world where it was not easy, anymore, to just download a Javascript file, put it in the vendor folder, and expect it to work.
Sprockets, the heart of the Asset Pipeline, tried to keep up but somehow it fell short. In some client projects, I had the chance to work on solutions that included Gulp, Grunt, and Bower that tried to fill up where Sprockets failed; and it was no joy.
Finally, to address this situation, on April 27th, 2017 Rails 5.1 was released, it included Yarn to manage Javascript dependencies and support for Webpack with sensitive defaults and integration into Rails itself via Webpacker.
Rails provided a tool that is familiar to developers that work with frontend on top of other technologies but to keep compatibility the Asset Pipeline was not removed, actually, you can use Webpacker and the Asset Pipeline seamlessly. It may take a few more versions before the Asset Pipeline becomes deprecated but it might be a good time to give it a try to Webpack.
Starting with Webpack.
If you are creating a new Rails application starting with Webpack is easy.
$ rails new sample_app --webpack
This command sets up Rails to use Webpack. If you need something like React, Angular, Elm, or Vuejs set up then you can specify that while creating the application.
$ rails new sample_app --webpack=react
If you want to disable the Asset Pipeline run the command with the following flag.
$ rails new sample_app --webpack --skip-sprockets
The --webpack flag will install the Webpacker gem, but will also add configuration for Webpack, a starting point to get into coding as soon as possible. Webpack configuration exists in the /config folder.
config/webpacker.yml
config/webpack
├── development.js
├── environment.js
├── production.js
└── test.js
Assets for Webpack live in /app/javascript/packs. Everything is organized in packs which are analog to having different sets of manifests with the Asset Pipeline but in this case, a pack encloses Javascript, CSS, Images, and any other asset to be sent to the client.
The default pack is application.js and it is the entry point for Webpack resources, this file is where you require Javascripts, Stylesheets, Images, and everything else. For it, I would normally create an application folder with subfolders for each kind of resource.
app/javascript
├── application
│   ├── images
│   ├── javascripts
│   └── stylesheets
└── packs
To use the pack in your HTML, Webpacker provides a couple of handy helpers.
<%= javascript_pack_tag "application" %>
<%= stylesheet_pack_tag "application" %>
Running the Rails server, in development mode, and visiting a page will start a Webpack process to compile the required packs delaying the response from the server. Compiling assets this way is simple but very slow. A faster approach is running a separate Webpack process, this can be done by executing the Webpack server as follow.
$ WEBPACKER_DEV_SERVER_HOST=0.0.0.0 ./bin/webpack-dev-server
Running Webpack this way makes compilation fast and also it will auto reload the current page if assets were modified. Just be aware that if you are running Rails 5.2 the following line needs to be added to config/initializers/content_security_policy.rb inside the policy block.
policy.connect_src :self, :https, 'http://localhost:3035', 'ws://localhost:3035' if Rails.env.development?
Moving from the Asset Pipeline to Webpack
Everything described in the previous section applies to new Rails applications but what about an existing application? The same applies but you need to install Webpack manually, sort of.
Before continuing, I want to make it clear that if your Javascript does not follow the Node.js Modules pattern you will need to figure out how to change your code to make it Webpack friendly.
First, add the Webpacker gem to your Gemfile and run Bundler. Now install it with the following command line.
$ bin/rails g webpacker:install
This will setup Webpack as described before, it will also add the application pack. Now install the rails-erb-loader it will become very handy to sprinkle some Ruby into the Javascript files.
$ rails webpacker:install:erb
Once erb loader is installed, rename file app/javascript/packs/application.js to app/javascript/packs/application.js.erb
If you load your application in the browser, even when the pack file is empty, Webpack will fail.
ERROR in ./app/javascript/packs/application.js.erb
Module build failed: Error: rails-erb-loader failed with code: 1
The problem is that your application.js.erb now understand Ruby, but comments in the file include something like this.
// To reference this file, add <%= javascript_pack_tag 'application' %> to the appropriate
// layout file, like app/views/layouts/application.html.erb
Just add another % to the start of the declaration to become
<%%= javascript_pack_tag 'application' %>
The next step in this migration will be to move all your Javascript files from app/assets/javascripts to app/javascript/application/javascripts. Rename the newly copied application.js to index.js.erb.
Also, move your Stylesheets and Images to their folder in app/javascript/application. Add an empty index.js.erb to each folder.
For images open the newly added index.js.erb and import all the images there.
import 'image1.png';
import 'image2.png';
...
import 'imageN.png';
You can add files one by one or take advantage of Ruby and do something like this.
<% images_glob = Rails.application.root.join('app', 'javascript', 'application', 'images', '**', '*.{png,svg}') %>
<% Dir.glob(images_glob).each do |image| %>
  import '<%= image %>';
<% end %>
That was easy, now look into your Rails views and update your code to use the asset_pack_path helper everywhere you have a reference to an image.
<%= image_tag asset_pack_path("application/images/image1.png") %>
Note that the complete path of the image is required, in this case, application/images.
Also in your Stylesheets file be sure to replace the image_url helper for just url and update images references to have the complete path.
Now it is time to work with your Stylesheets. If you have an application.css it is likely that you are requiring your Stylesheets with Sprocket comments syntax, remove it from your application.css and open the index.js.erb in your Stylesheets folder.
In your index file, you can import each Stylesheet file, one by one.
import 'application.css';
import 'layout.css';
...
import 'buttons.css';
Or you can use Ruby, as we did it for images, and import all available files.
<% css_glob = Rails.application.root.join('app', 'javascript', 'application', 'stylesheets', '**', '*.{css}') %>
<% Dir.glob(css_glob).each do |file| %>
  import '<%= file %>';
<% end %>
Also if you have any gem that provides Stylesheets you can import them as follow.
import "<%= File.join(Gem.loaded_specs['mygem'].full_gem_path, 'app', 'assets', 'stylesheets', 'myfile.css') %>";
When you need to import more than one file from the gem then create an array with the name of each file and iterate over it for import.
If you are using SCSS, then your application file might be called application.scss, in this case, imports will happen with SCSS syntax which is ok. Just import your application.scss into index.js.erb and you will be fine.
import 'application.scss';
If you are using a CSS/SCSS framework via a gem, you better remove the gem and install it via NPM with Yarn. The following example installs Bulma.
$ bin/yarn add bulma
Then add @import '~bulma/bulma'; into your application.scss.
The final step is to migrate your Javascript assets. Update your index.js.erb file to import all dependencies declared originally for Sprockets using the require comments, now dependencies will be resolved by Yarn.
For example, here we are adding the common Javascript dependencies.
$ bin/yarn add jquery turbolinks rails-ujs activestorage
Now in the top of your index.js.erb import them as follow.
import Rails from 'rails-ujs';
import Turbolinks from 'turbolinks';
import * as ActiveStorage from 'activestorage';

Rails.start();
Turbolinks.start();
ActiveStorage.start();
For other libraries read the README file for additional information on how to import them.
In the case of jQuery, you must make it available with $ and jQuery. Open the config/webpack/environment.js file and add the following lines just above module.exports = environment.
const webpack = require('webpack');
environment.plugins.append('Provide', new webpack.ProvidePlugin({
  $: 'jquery',
  jQuery: 'jquery'
}))
For Ruby gems that includes Javascript, it might vary how to import them but for many, it will be as easy as importing the files from the gem.
import "<%= File.join(Gem.loaded_specs['mygem'].full_gem_path, 'app', 'assets', 'javascripts', 'myfile') %>";
We can use the same technique showed where an iteration is made to load the files.
<% ['file1', 'file2'].each do |file| %>
 import "<%= File.join(Gem.loaded_specs['mygem'].full_gem_path, 'app', 'assets', 'javascripts', file) %>";
<% end %>
For our own files, again you can use the same technique used with Images or Stylesheets.
<% files_glob = Rails.application.root.join('app', 'javascript', 'application', 'javascripts', '**', '*.js') %>
<% Dir.glob(files_glob).each do |file| %>
  import '<%= file %>';
<% end %>
Now modify the application.js.erb file inside the packs folder to reference the index.js.erb file for all assets.
import '../application/images/index.js.erb';
import '../application/stylesheets/index.js.erb';
import '../application/javascripts/index.js.erb';
If everything is ok then Webpack will compile the assets and your application will load normally. If not, then it would be time to debug any messages and try to fix it.
You would want to disable the Asset Pipeline in your application, to do this remove all configuration settings related to config.assets in config/environments/production.rb and config/environments/development.rb. Also, remove the config/initializer/assets.rb file. From your Gemfile remove gems coffee-rails, sass-rails, uglifier, and turbolinks.
At the top of your config/application.rb remove the require "rails/all" and expand the framework requires and comment the require for "sprockets/railtie".
require "rails"
# Pick the frameworks you want:
require "active_model/railtie"
require "active_job/railtie"
require "active_record/railtie"
require "active_storage/engine"
require "action_controller/railtie"
require "action_mailer/railtie"
require "action_view/railtie"
# require "action_cable/engine"
# require "sprockets/railtie"
require "rails/test_unit/railtie"
Remove your app/assets folder.
Conclusion
If you get to this part of the blog and your application is running with Webpack for your assets: congratulations! Your team now has modern tools to work on your frontend.
If you still have errors you might need to tweak things related to your assets and maybe it would be a good idea to not disable the Asset Pipeline yet and continue working on your migration to Webpacker.
An additional bonus: You can use foreman to start the Rails server and Webpack server with one command. Install the foreman gem with gem install foreman, don't add it to your Gemfile.
Then create a Procfile in your Rails root with the following lines.
web: bin/rails s -p $PORT
webpack: bin/webpack-dev-server
Now start your servers with PORT=3200 foreman start. Note PORT can be any port of your choice.
Photo by Aral Tasher on Unsplash

View Comments